In this tutorial, we will go step by step on how to add a React App to a NET Core MVC App. Handling 404 pages and client routing.
I am one to think that not everything I build has to be a Single Page Application (SPA). Recently I was building a project for a client, and I decided that only one section of the app needed to be a SPA and the rest of the app a “traditional” MVC app, so I started the app with the “MVC” part and later added the “SPA”. This is how I did it.
[topads][/topads]
Adding a React app to your existing NET Core MVC app is easier than you might think
One thing to note is that I am using VS Code and the .NET Core CLI on macOS.
The Existing NET Core MVC App
If you wish to follow along, clone the following repo dotnet-core-mvc-react (intial-app branch. Yes, the branch name is misspelled >_<) and open the project.
git clone -b intial-app --single-branch https://github.com/esausilva/dotnet-core-mvc-react.git
To run the project in VS Code, open the integrated terminal and type the following
dotnet watch run
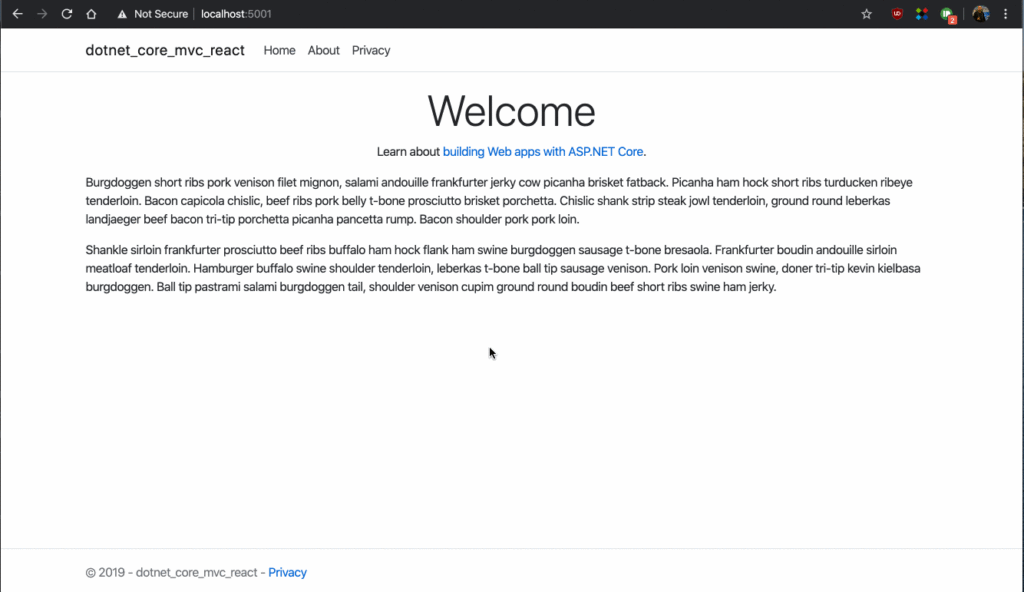
Our awesome app has three views under Home controller and configured with a custom 404 page.
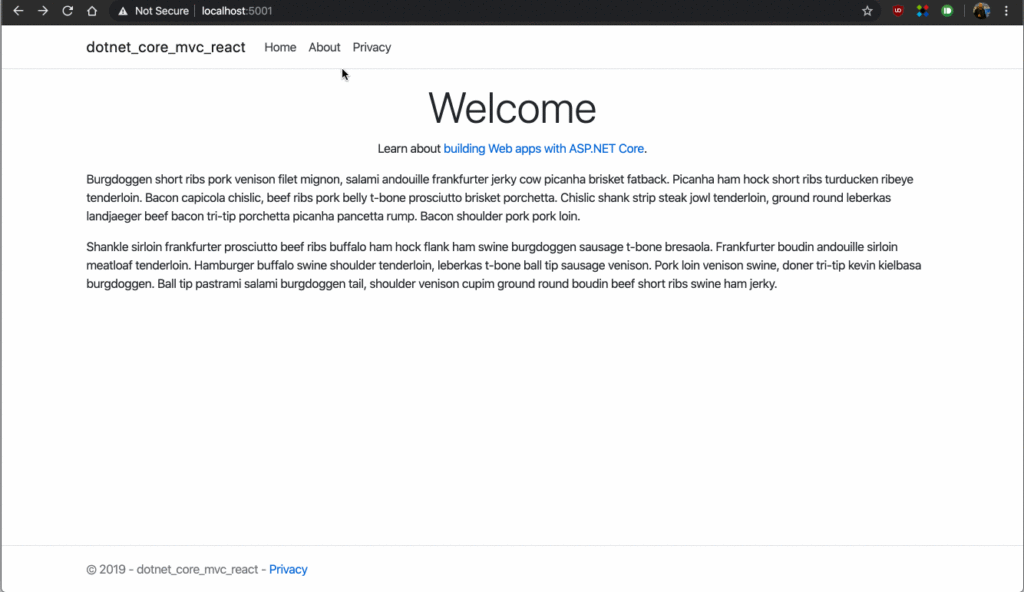
You get a new feature request and it is a perfect candidate for a React app. Fortunately, adding a React app is easier than you might think.
Go ahead and stop the project (if you have it running) by pressing Ctrl + C in your terminal.
Creating the React app
Rather than creating the app from scratch or using Create React App (CRA), we will create a new .NET Core project with the React template. This default template will have React Router installed making it easier for us.
Open your terminal, navigate to a different directory and type the followingdotnet new react -n temp-react-core
Now in Finder navigate to this newly created project directory (temp-react-core) and copy the ClientApp directory to the root of our actual project. Also, copy WeatherForecastController.cs to the Controllers directory and WeatherForecast.cs to the Models directory of our project.
You will end up with the following project structure.
|-- ClientApp/
|-- Controllers/
|  |-- HomeController.cs
|  |-- WeatherForecastController.cs
|-- LICENSE
|-- Models/
|  |-- ErrorViewModel.cs
|  |-- WeatherForecast.cs
|-- Program.cs
|-- Properties
|-- README.md
|-- Startup.cs
|-- Views/
|-- appsettings.Development.json
|-- appsettings.json
|-- bin/
|-- dotnet-core-mvc-react.csproj
|-- obj/
|-- wwwroot/
Now back to VS Code, open WeatherForecastController.cs and WeatherForecast.cs and change the namespace to match our project’s namespace. You will end up with the following
// WeatherForecastController
namespace dotnet_core_mvc_react.Controllers
{ ... }

// WeatherForecast
namespace dotnet_core_mvc_react
{ ... }
Still in VS Code, open dotnet-core-mvc-react.csproj and replace it with the following contents
<Project Sdk="Microsoft.NET.Sdk.Web">

  <PropertyGroup>
    <TargetFramework>netcoreapp3.1</TargetFramework>
    <RootNamespace>dotnet_core_mvc_react</RootNamespace>
    <SpaRoot>ClientApp\</SpaRoot>
    <DefaultItemExcludes>$(DefaultItemExcludes);$(SpaRoot)node_modules\**</DefaultItemExcludes>
    <RootNamespace>dotnet_core_mvc_react</RootNamespace>
  </PropertyGroup>

  <ItemGroup>
    <PackageReference Include="Microsoft.AspNetCore.SpaServices.Extensions" Version="3.1.0" />
  </ItemGroup>

  <ItemGroup>
    <!-- Don't publish the SPA source files, but do show them in the project files list -->
    <Content Remove="$(SpaRoot)**" />
    <None Remove="$(SpaRoot)**" />
    <None Include="$(SpaRoot)**" Exclude="$(SpaRoot)node_modules\**" />
  </ItemGroup>

  <Target Name="DebugEnsureNodeEnv" BeforeTargets="Build" Condition=" '$(Configuration)' == 'Debug' And !Exists('$(SpaRoot)node_modules') ">
    <!-- Ensure Node.js is installed -->
    <Exec Command="node --version" ContinueOnError="true">
      <Output TaskParameter="ExitCode" PropertyName="ErrorCode" />
    </Exec>
    <Error Condition="'$(ErrorCode)' != '0'" Text="Node.js is required to build and run this project. To continue, please install Node.js from https://nodejs.org/, and then restart your command prompt or IDE." />
    <Message Importance="high" Text="Restoring dependencies using 'npm'. This may take several minutes..." />
    <Exec WorkingDirectory="$(SpaRoot)" Command="npm install" />
  </Target>

  <Target Name="PublishRunWebpack" AfterTargets="ComputeFilesToPublish">
    <!-- As part of publishing, ensure the JS resources are freshly built in production mode -->
    <Exec WorkingDirectory="$(SpaRoot)" Command="npm install" />
    <Exec WorkingDirectory="$(SpaRoot)" Command="npm run build" />

    <!-- Include the newly-built files in the publish output -->
    <ItemGroup>
      <DistFiles Include="$(SpaRoot)build\**" />
      <ResolvedFileToPublish Include="@(DistFiles->'%(FullPath)')" Exclude="@(ResolvedFileToPublish)">
        <RelativePath>%(DistFiles.Identity)</RelativePath>
        <CopyToPublishDirectory>PreserveNewest</CopyToPublishDirectory>
        <ExcludeFromSingleFile>true</ExcludeFromSingleFile>
      </ResolvedFileToPublish>
    </ItemGroup>
  </Target>

</Project>
All of that is just configuration telling Webpack to build the React app. The line <SpaRoot>ClientApp\</SpaRoot> tells .NET Core where the React app lives.
Another thing to note is that we are adding a new package Microsoft.AspNetCore.SpaServices.Extensions.
Open Terminal again and type the following to restore this new package
dotnet restore
Now open Startup.cs and add the following under the ConfigureServices and Configure methods
public void ConfigureServices(IServiceCollection services) {
	...
	// In production, the React files will be served from this directory
    services.AddSpaStaticFiles(configuration => {
        configuration.RootPath = "ClientApp/build";
    });
}

public void Configure(IApplicationBuilder app, IWebHostEnvironment env) {
	...
    // After app.UseStaticFiles()
	app.UseSpaStaticFiles();
 	...
	// After app.UseEndpoints()
	app.UseSpa(spa => {
      spa.Options.SourcePath = "ClientApp";
      if (env.IsDevelopment()) {
        spa.UseReactDevelopmentServer(npmScript: "start");
      }
    });
}
The order of configurations under the Configure method matters, if you add app.UseSpa(...) before app.UseEndpoints(...) then React will take over routing and none of your MVC routes will work.
At this point, we have configured the React app to work nicely with .NET Core. In the background, the framework will run react-scripts which in turn run CRA to build and serve React in the development environment.
[signupform][/signupform]
Running the app for the first time
Now that everything is set up we can safely install and update the JavaScript packages. Open Terminal, navigate to ClientApp directory within our project and type the following to install
npm i
Optional: To update the packages I use npm-check. Go ahead and use that tool or the one of your preference to update the JavaScript packages.
Still in Terminal, go back to the root of the project and run the app
dotnet watch run
Now try to access the React app by typing the following: https://localhost:5001/ClientApp. You will notice you hit a blank page, but if you click on the menu items they actually take you to their respective pages.
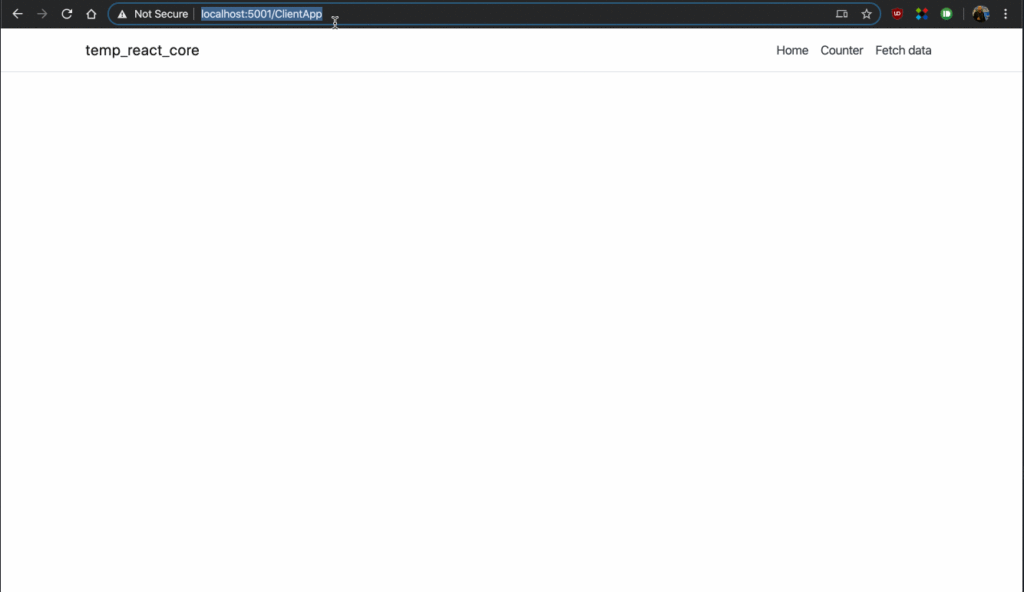
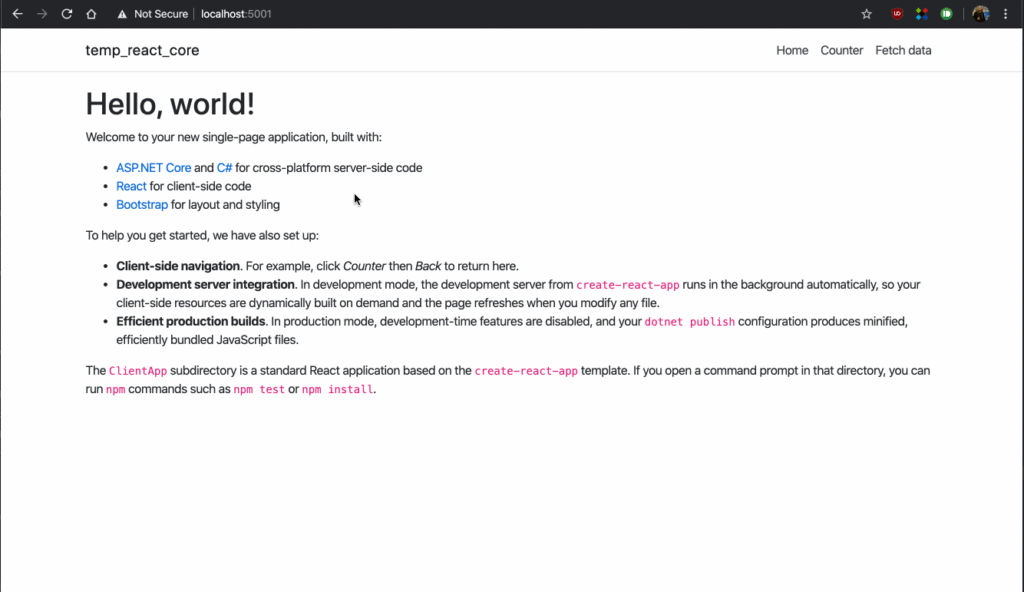
When you click Home, notice the URL changes to https://localhost:5001. If you were to hit refresh then the React home will go away and load the Home View in HomeController. This is not good.
Now, if you were to type a route that does not exist (say https://localhost:5001/dfdf) you will get a blank page. React took over our custom 404 page and just displays a blank page. In fact, when we accessed https://localhost:5001/ClientApp we got React Router’s “404 page”.
Fixing the Home issue
Open index.js under ClientApp -> src directory and assign baseURL to "ClientApp".
// From
const baseUrl = document.getElementsByTagName('base')[0].getAttribute('href');

// To
const baseUrl = "ClientApp"
Back to your browser, access https://localhost:5001/. You will get the correct non-React home. Now access https://localhost:5001/ClientApp, and you will get the React home.
Fixing our custom 404 page
Since React is taking over the custom 404 page, we will have to handle 404s within React. There are two options for taking care of this issue.
Option 1
Let’s create a Not Found component and hook it up to React Router.
Create a new file under ClientApp -> src -> Components directory and call it NotFound.js. Copy the following:
import React from "react";

const NotFound = () => (
  <h1 style={{ textAlign: "center" }}>
    Sorry! The resource you are looking for has not been found
  </h1>
);

export { NotFound };
Now open App.js under ClientApp -> src directory and replace it with the following:
import React, { Component } from "react";
import { Route, Switch } from "react-router";
import { Layout } from "./components/Layout";
import { Home } from "./components/Home";
import { FetchData } from "./components/FetchData";
import { Counter } from "./components/Counter";
import { NotFound } from "./components/NotFound";

import "./custom.css";

export default class App extends Component {
  static displayName = App.name;

  render() {
    return (
      <Layout>
        <Switch>
          <Route exact path="/" component={Home} />
          <Route path="/counter" component={Counter} />
          <Route path="/fetch-data" component={FetchData} />
          <Route component={NotFound} />
        </Switch>
      </Layout>
    );
  }
}
In order to display the custom 404 page correctly, we would need to import Switch from react-router and enclose our routes with it.
Then we import the NotFound component and add it after the last route. If we add it before the first route or in between, and you try accessing any other route after it, then the NotFound component will display instead of the requested component. This is because the NotFound Route does not have a path and is basically a “catch-all” route.
Now, if we were to not include the Switch, then the NotFound component would display alongside every other route.
Try accessing https://localhost:5001/dfdf, and you will get the 404 page from React. Nice!!
Option 2
Open NotFound.js and replace the contents with the following:
const NotFound = () => {
  window.location = "/Home/NotFoundPage";
  return null;
};

export { NotFound };
Now open HomeController.cs and comment out the annotation above NotFoundPage action result
// [Route("error/404")]
public IActionResult NotFoundPage() {
    return View();
}
Finally open Startup.cs and comment out the following line under the Configure method.
// app.UseStatusCodePagesWithReExecute("/error/{0}");
Try accessing https://localhost:5001/dfdf and you will get the 404 page served by .NET.
Final Repo
https://github.com/esausilva/dotnet-core-mvc-react
Bonus
If you already have authentication set up, any calls from within React to your Web API will already be authenticated since cookies attach automatically to ajax calls, including the auth cookies.
More than likely you will not want to access your awesome new feature with ClientApp as the route. Just change the baseURL under index.js to whatever you want want it to be, say AwesomeNewFeature
const baseUrl = "AwesomeNewFeature";
With this change, we can access the app like so https://localhost:5001/AwesomeNewFeature
Conclusion
That is it! You made it through the end. We just learned that adding a React App to an existing NET Core MVC app is indeed pretty straight forward.
Let me know in the comments any questions, corrections, or even praise. I look forward to reading them.
Thanks for reading this far. I hope you enjoyed the article and will share it on your social media accounts. You can connect with me on LinkedIn or on Twitter.
Originally published on newline.
Consider giving back by getting me a coffee (or a couple) by clicking the following button:
[bottomads][/bottomads]
Thanks for such a detailed guide on how to integrate react with MVC Webapp. I am trying to do something similar and that is how I came across your article. But the difference is I am trying to integrate a TypeScript Webapp (React+Redux template created using VS 2019) instead of a React Webapp. And I am getting quite a few errors in the TS files, specially in the “form.d.ts” declaration files. Can you help me find what else do I need to change in order to solve those errors. Any suggestion would be really helpful.
Thanks
Tathagat
You could paste those errors here, however I’m not sure if I’ll be of much help as I have not done TypeScript
I love the Adding a React App to a .NET Core MVC App post. I followed the steps and it went smoothly. When i apply to my .net MVC, i don’t know how to. My app is different with the .net CORE app. It doesn’t have startup.cs page. it doesn’t have using Microsoft.AspNetCore.Builder. Will you have a tutor for Adding a React App to a .NET MVC App soon?
What version of Core are you using? Did you recently create the .Net MVC app?
I have tried the same steps mentioned in the article i am able to run the react pages but MVC pages are not loading.
I am using .NET 8 along with React-TS .
Did you tried it with latest .NET 8 and React-TS ??